Workshop Setup
Please follow the instructions in JupyterHub Notebook Service Access to arrange access to the EIDF Notebook service before continuing. The table below provides the login URL and the relevant GitHub organization to register with.
Please follow the sequence of instructions described in the sections below to get ready for the workshop:
- Step 1: Accessing the EIDF Notebook Service for the First Time
- Step 2: Login to EIDF JupyterHub
- Step 3: Creating a New R Script
Step 1: Accessing the EIDF Notebook Service for the First Time
We will be using the Notebook service provided by the Edinburgh International Data Facility (EIDF). Follow the steps listed below to gain access.
- Visit https://secure.epcc.ed.ac.uk/ed-dash-hub in your browser
Warning
If you are receiving an error response such as '403: Forbidden' when you try to access https://secure.epcc.ed.ac.uk/ed-dash-hub, please send an email to ed-dash-support@mlist.is.ed.ac.uk to request access and also include your IP address which you can find by visiting https://whatismyipaddress.com/ in your browser. Please be aware that if you are accessing the service from outside of the UK, your access might be blocked until you have emailed us with your IP address.
- Click on the
 button
 - You will be asked to sign in to GitHub, as shown in the form below
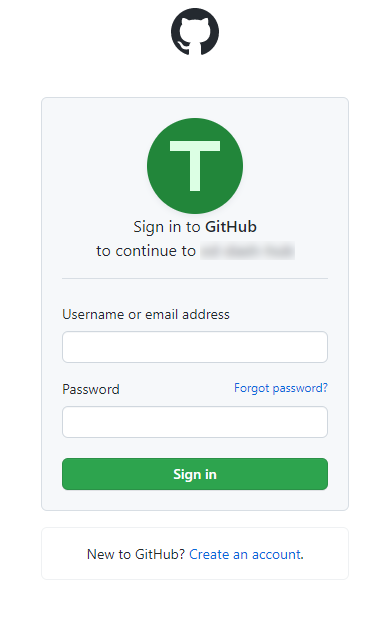 GitHub sign in form for access to EIDF Notebook Service
 - Enter your GitHub credentials, or click on the ‘Create an account’ link if you do not already have one, and follow the prerequisite instructions to register with GitHub and join the workshop organization
- Click on the ‘Sign in’ button
- On the next page, you will be asked whether to authorize the workshop organization to access your GitHub account as
shown below
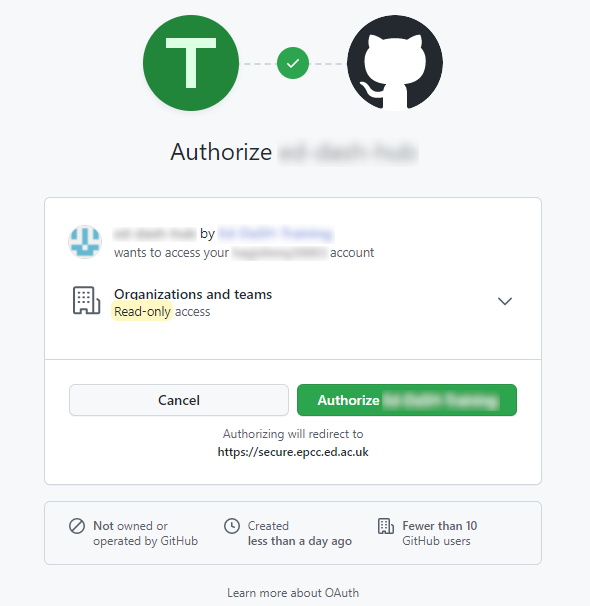 GitHub form requesting authorization for the workshop organization
 - Click on the
 button
 - At this point, you will receive an email to the email address that you registered with in GitHub, stating that “A third-party OAuth application has been added to your account” for the workshop
- If you receive a ‘403 : Forbidden’ error message on the next screen (if you did not already do so as in step 4 of the prerequisites section) send an email to ed-dash-support@mlist.is.ed.ac.uk from your GitHub registered email address, including your GitHub username, and ask for an invitation to the workshop organization. Otherwise, skip to the next step. N.B. If you are accessing the service from outside of the UK, you may see this error; if so, please contact ed-dash-support@mlist.is.ed.ac.uk to enable access
- If you receive a ‘400 : Bad Request’ error message, you need to accept the invitation that has been emailed to you to join the workshop organization as in the prerequisite instructions
Step 2: Login to the EIDF Notebook Service
Now that you have completed registration with the workshop GitHub organization, you can access the workshop RStudio Server in EIDF.
- Return to the https://secure.epcc.ed.ac.uk/ed-dash-hub
- You will be presented with a choice of server as a list of radio buttons. Select the appropriate one as labelled for your workshop and press the orange 'Start' button
- You will now be redirected to the hub spawn pending page for your individual server instance
- You will see a message stating that your server is launching. If the page has not updated after 10 seconds, simply refresh the page with the <CTRL> + R or <F5> keys in Windows, or <CMD> + R in macOS
- Finally, you will be redirected to either the RStudio Server if it's a statistics workshop, or the Jupyter Lab
dashboard otherwise, as shown in the screenshots below
 The RStudio Server UI
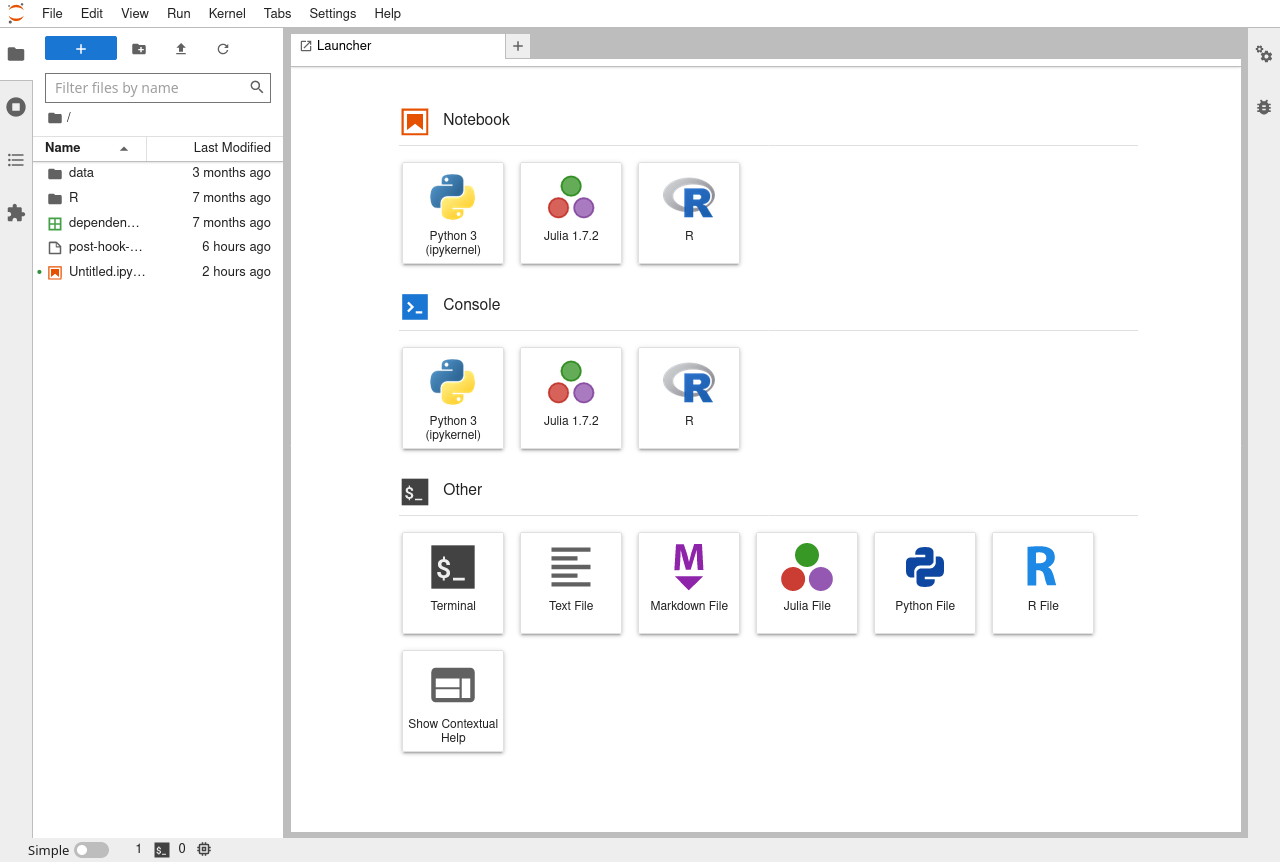 The Jupyter Lab Dashboard
Step 3: Creating a New R Script
Follow these quickstart instructions to create your first R script in RStudio Server!